Articulate Tree
  • Home
  • Food
  • Embroidery
  • Historical Clothing
  • Fencing
  • Home
  • Food
  • Embroidery
  • Historical Clothing
  • Fencing

Articulate Clothing

Sewing the skirt to the bodice

25/4/2020

0 Comments


A step-by-step guide in pictures and words

Picture
One of the most befuddling parts of kirtle construction, can be attaching the skirt to the bodice.  It took me a long time to develop a reliable technique that is easy to use. In this demonstration, I am sewing a middle class Elizabethan kirtle. 

Step 1: Establish how the garment should be pleated
Check with your source material to find out how big the pleats should be for your garment.
  • If they are knife pleats, what direction are they going in and is there a box pleat in the centre back?
  • Is the whole skirt pleated or does it start at the hip or side?
In my example all the pleats face toward the centre back and finish in a box pleat.

You should always line up the side seam of the skirt to the side seam of the bodice. In fact, I always treat the front and back of the garment separately and apply the technique first to the back and then to the front. 

​Step 2: Assemble your materials
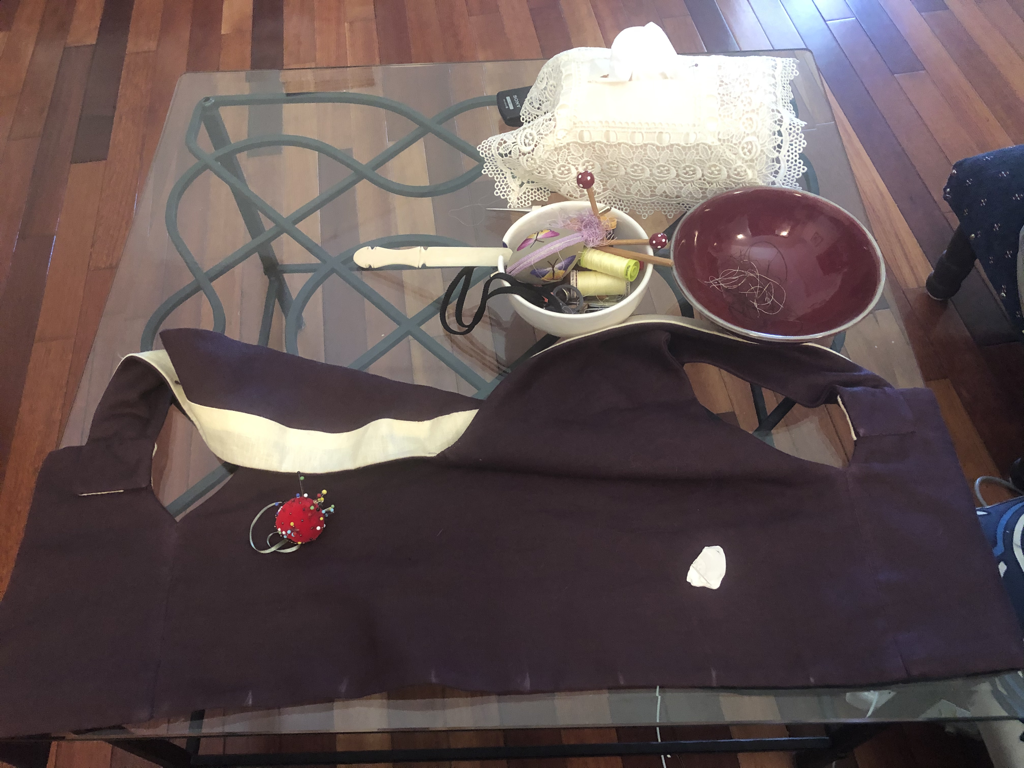
  • your bodice and skirt complete and all edges finished. 
  • tailor's chalk
  • pins (I use glass head)
  • something to measure the pleats. (I have an antique pleat tool, but a blunt knife or straight piece of wood works too)
Picture
Step 3: Mark out your bodice and skirt. 
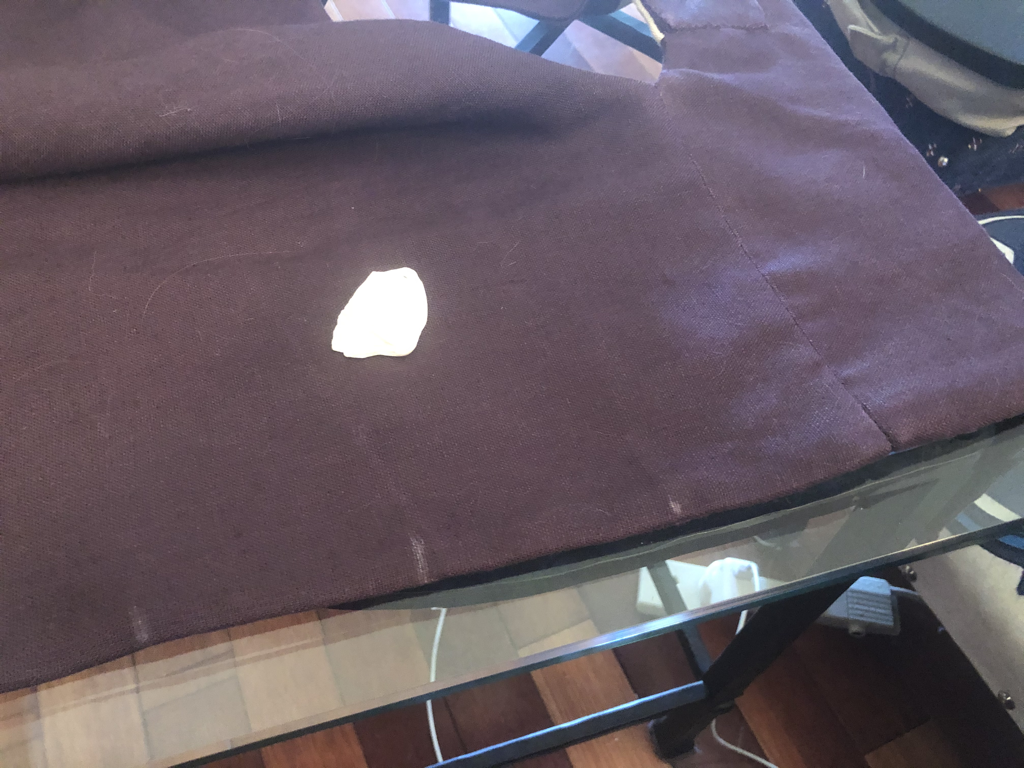
  • ​Fold the back of the bodice in half on the bottom edge, lining up the side seam and mark the middle with tailor's chalk. All marks should be made on the inside of the bodice. 
  • Fold the mark to the side seam and mark the middle and then do the same for the other side. your bodice will be marked out in quarters. You need it to be marked out in eighths. 
  • To mark out eighths, fold the side seam to the quarter mark and then the quarter mark to the half mark and so on.
  • On the skirt mark out the centre back by folding the side seams together and marking the center. Follow the same technique as for the bodice. 
Picture
Step 4: ​Line up your marks
  • Turn the bodice and skirt inside out so that the outsides are facing each other.
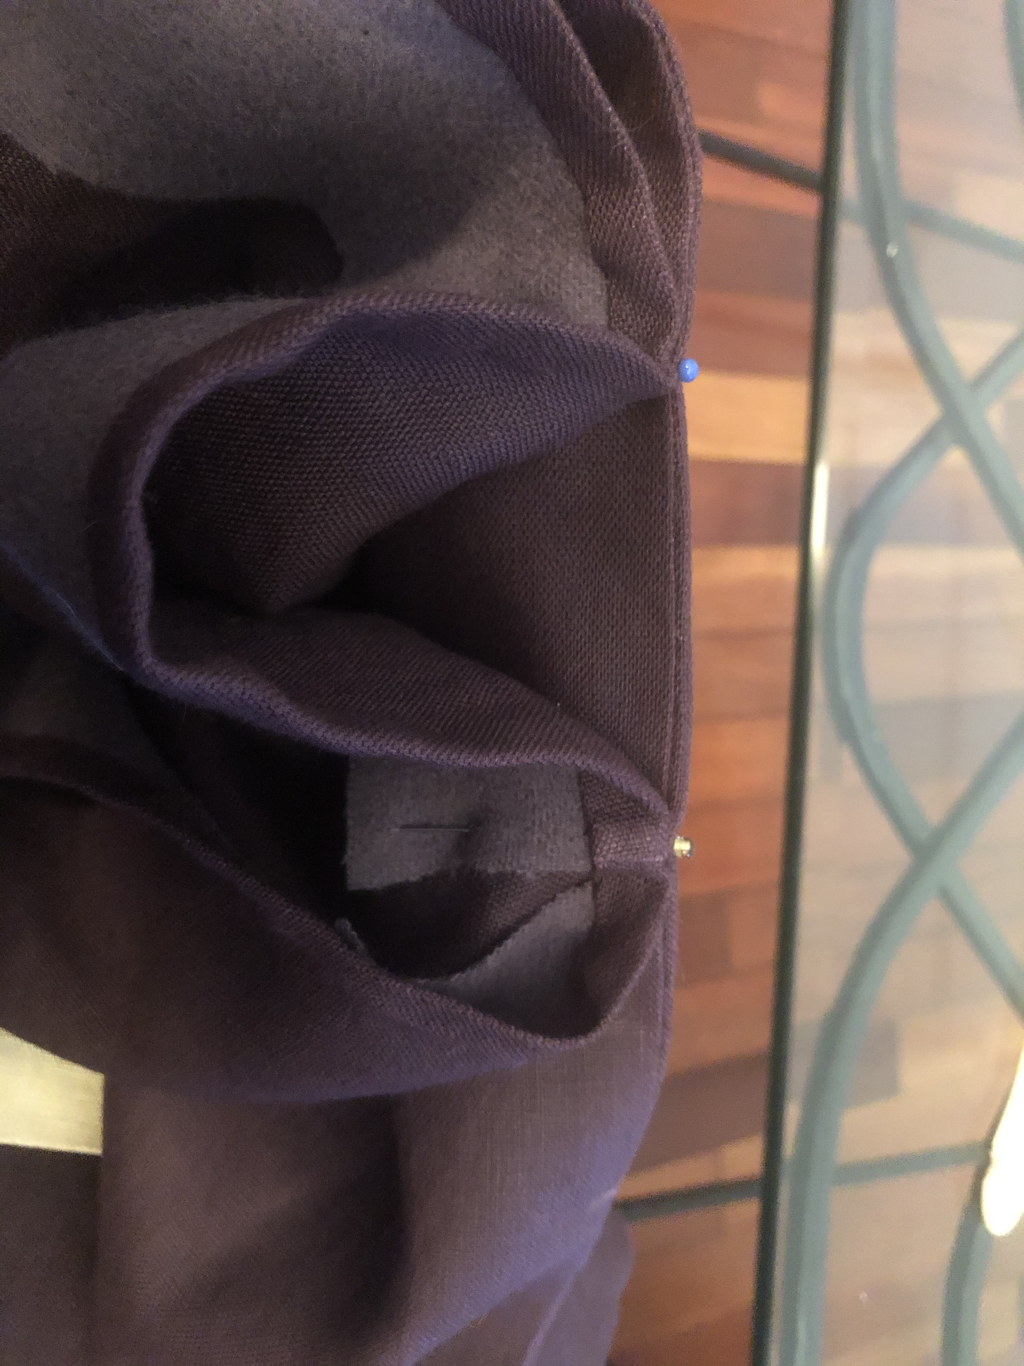
  • Line up the edges and pin the side seam of the bodice and skirt together at the edges. 
  • Line up the corresponding marks on the bodice and skirt. It should look like this, withe the skirt having a big chunk of fabric which needs to be pleated.
Picture
Step 5: Measure your pleats
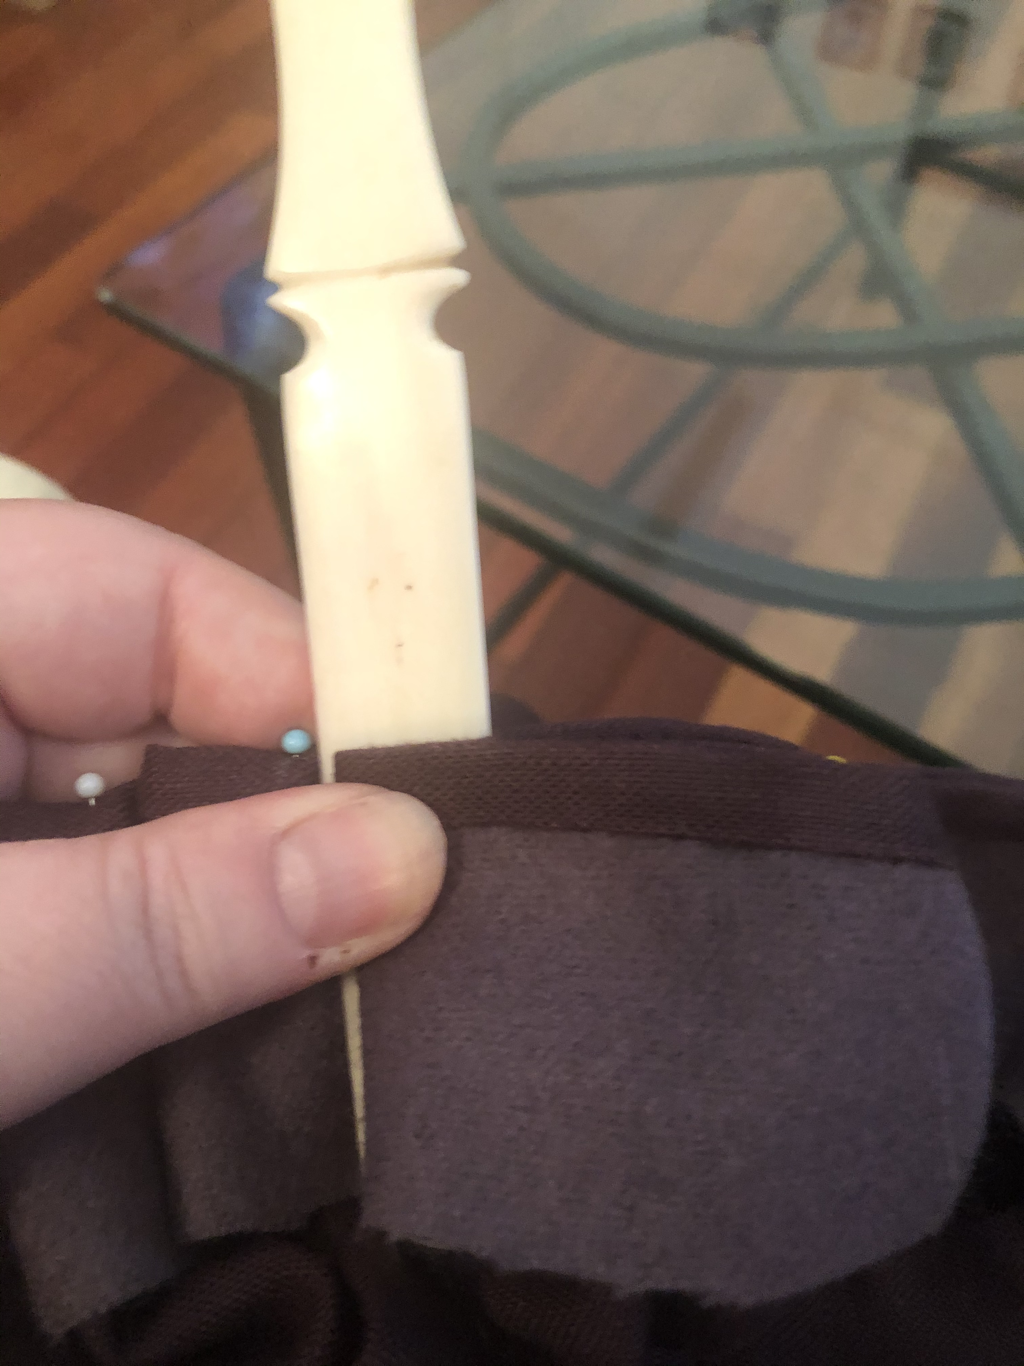
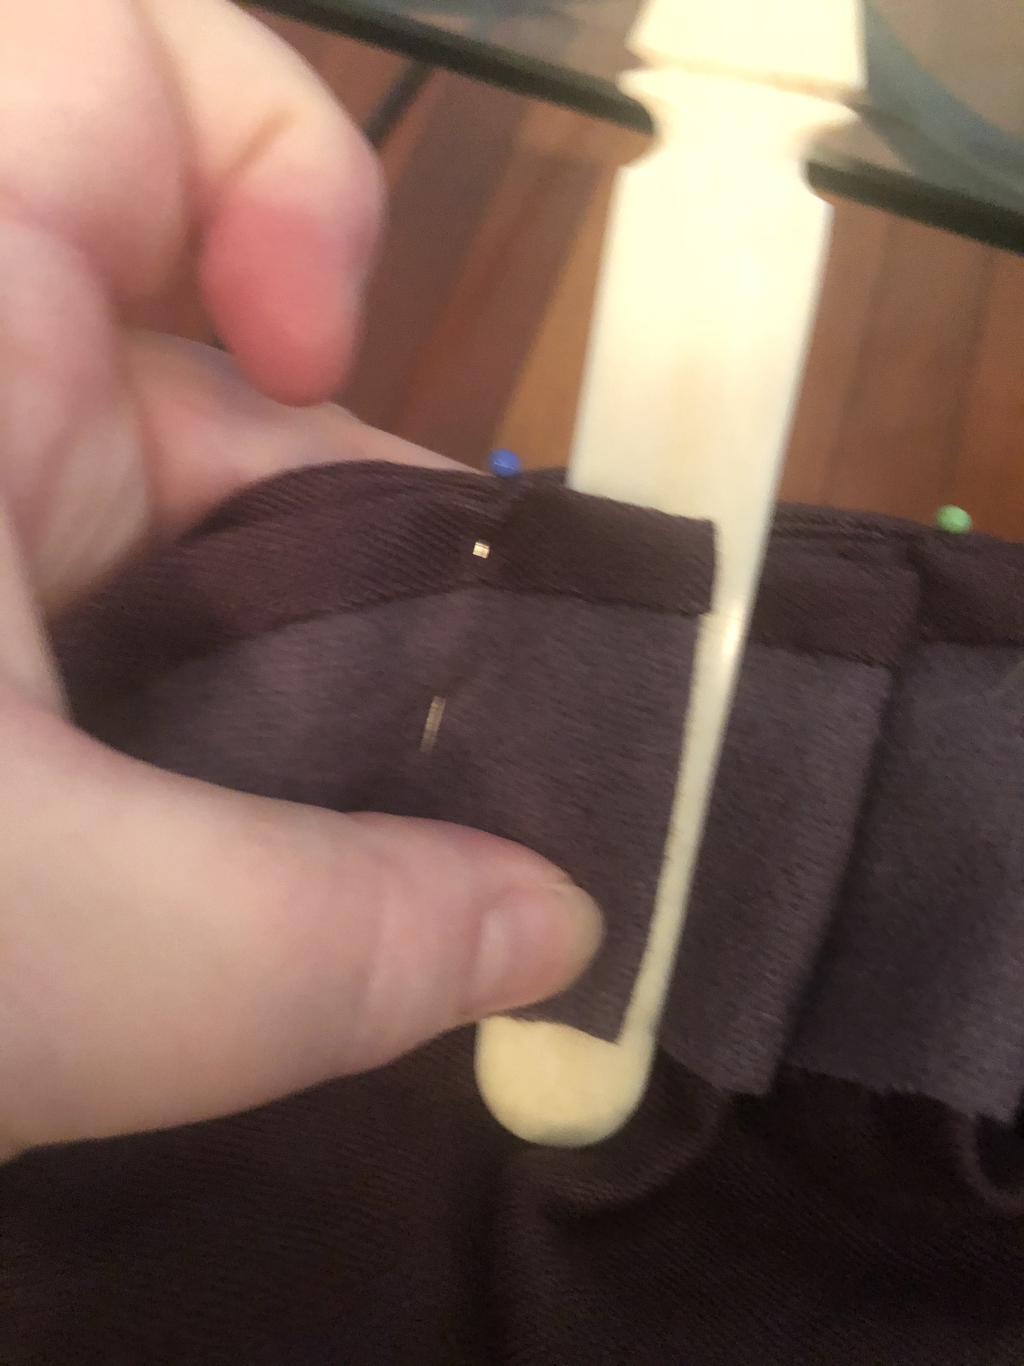
  • In the section closest to the side seam, and considering how big you want your pleats, use your measuring tool to work out how big the pleats need to be and how many you can fit in the one eighth space. Pin in place vertically and pin both sides of the pleat so they sit flat. Make sure the pleats are going in the right direction, in this case they are pointing to the centre back.
Picture
Picture
Step 6: Pin your pleats. 
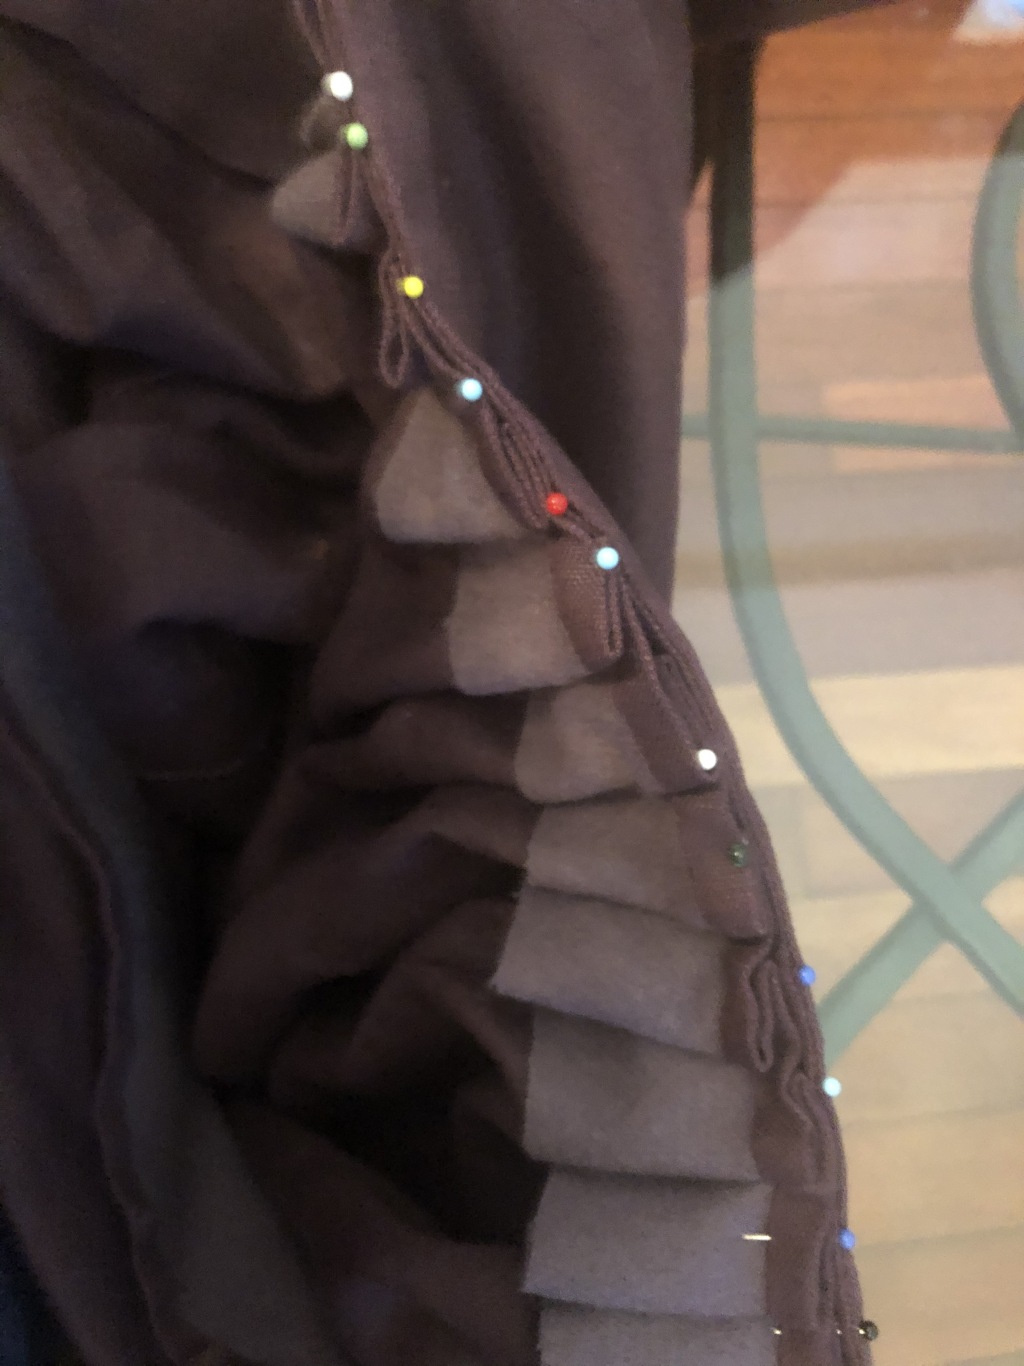
  • Once you have worked this out, apply the number of pleats and size to the other three segments to the centre. 
  • go to the other side seam and apply the number of pleats and size going in the correct direction (in this case pointing to the centre back. 
  • A box pleat should automatically form in the centre back, but you might need to check and adjust to make sure it is very even and neat. 
Picture
Step 7: Sew the bodice to the skirt
  • Find a needle which will go through all the layers of the fabric easily without too much bending. 
  • Thread the needle with a strong threat (I use quilting top stitch if I can find it in the right colour and double thread in this circumstance
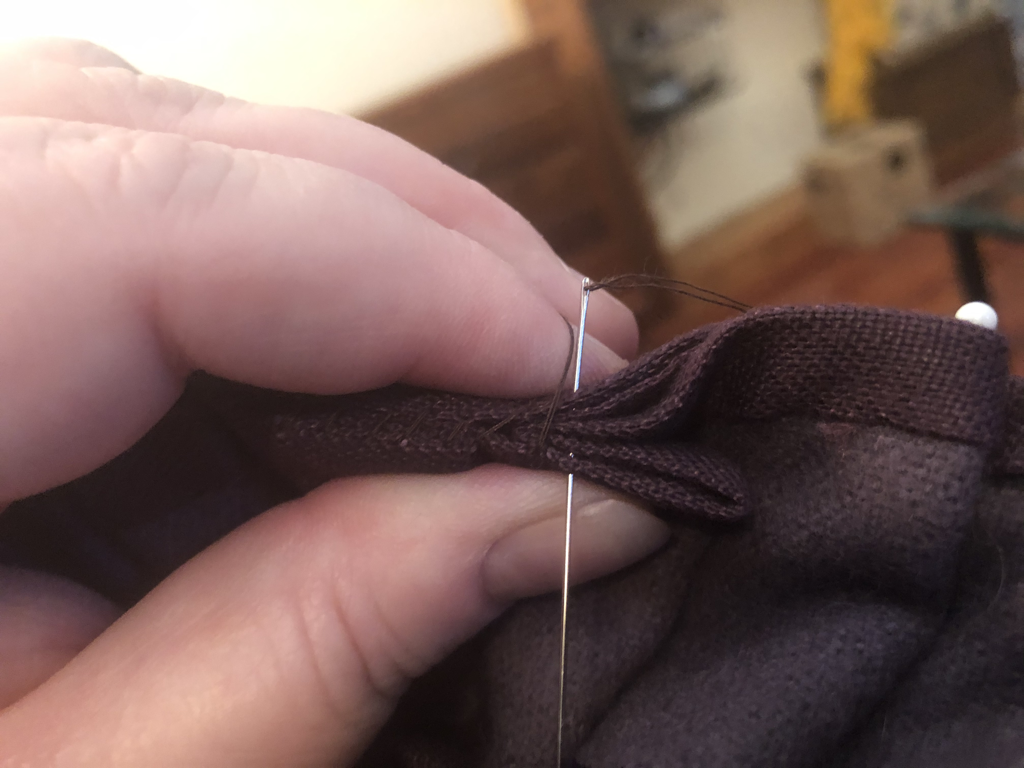
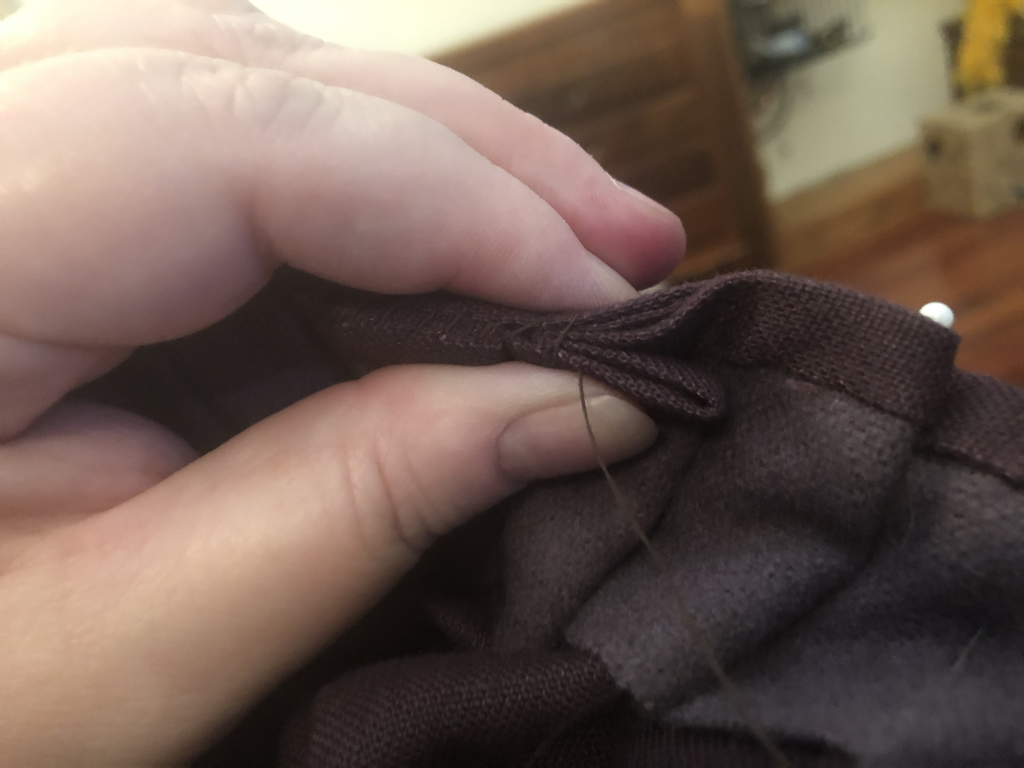
  • Whip stitch the two edges together going through all layers and using small stitches (2-3 millimetres apart).
Picture
  • While whip stitching pinch the layers together. ​
Picture
  • Pull firmly on all stitches but do not strain the thread. 
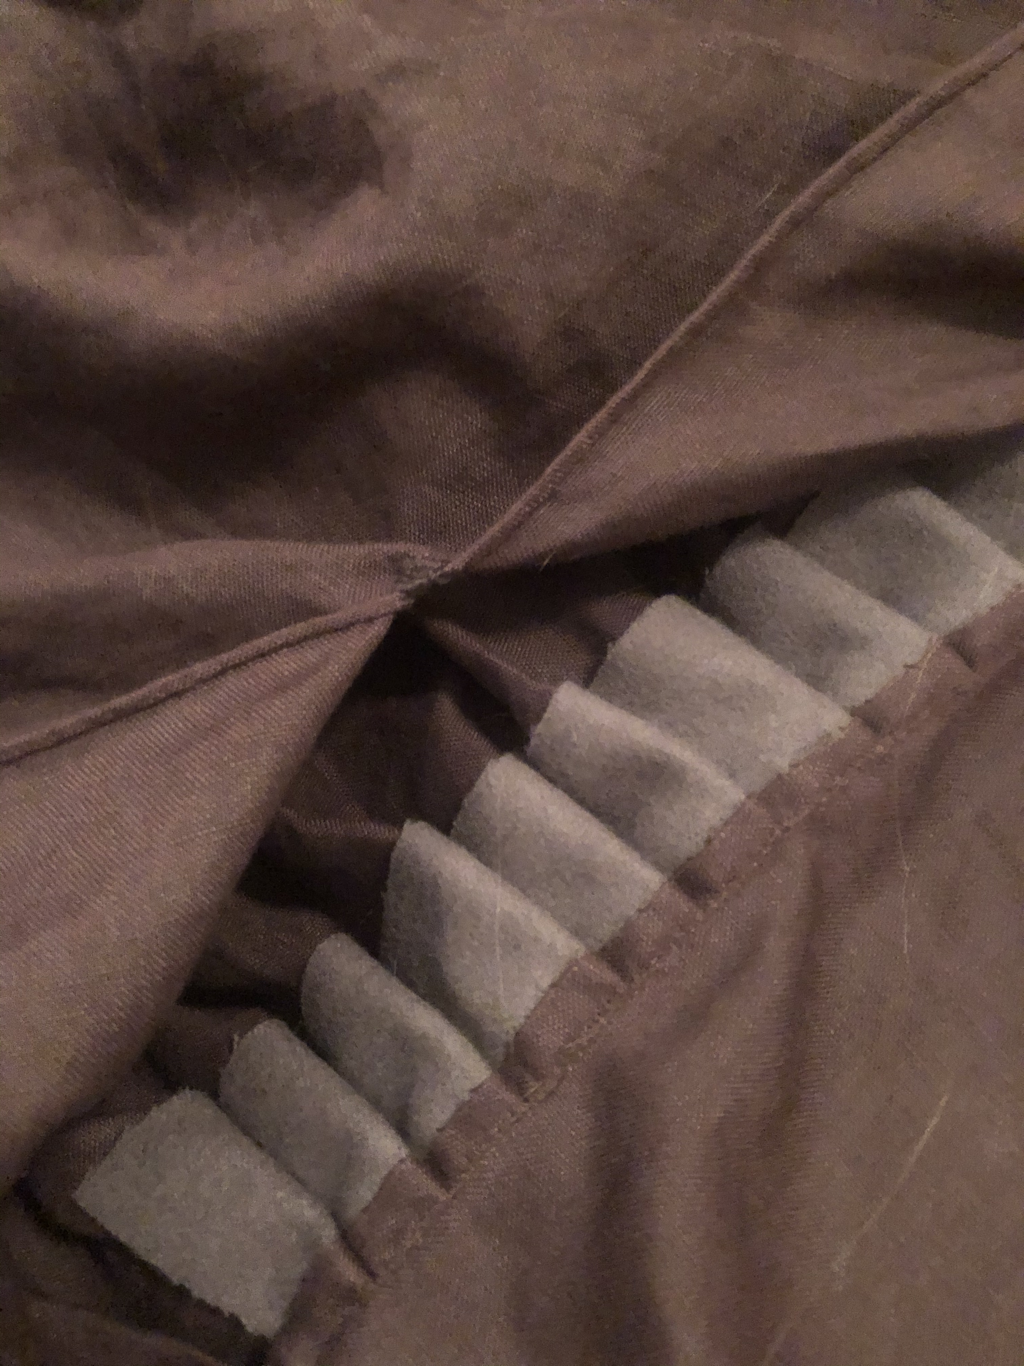
  • Once you have sewn the skirt together, whip stitch the whole back again, in the other direction (so the whip forms a bit of a cross) to reinforce it. 
Picture
Step 8: Finish the garment
  • For the front of the bodice, mark out where your hip is (or where you're starting the pleating from). 
  • Is it half or a quarter or eighth of the total front? 
  • Work out how much distance it is (in my case an eighth) and mark the segments with tailor's chalk. 
  • Do the same for the skirt and pin the segments together in the same way you did the back. 
  • Put the same number of pleats in each eighth segment you are going to pleat in as the back, making sure the pleats face the right direction. 
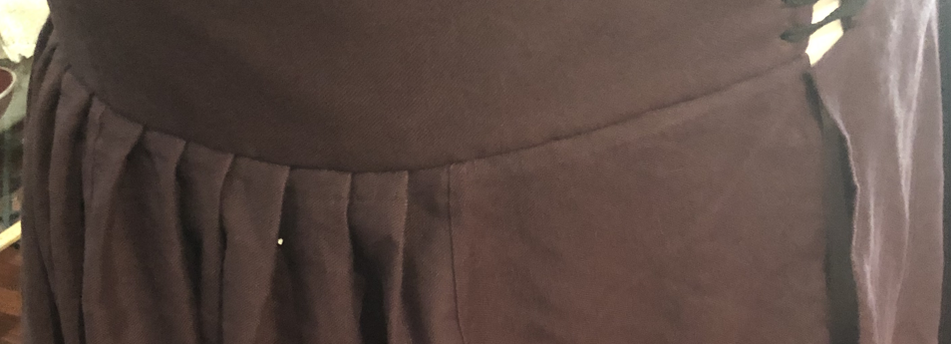
  • Pin everything in place (including any unpleated sections) and whip stitch in both directions the same way you did the back. 
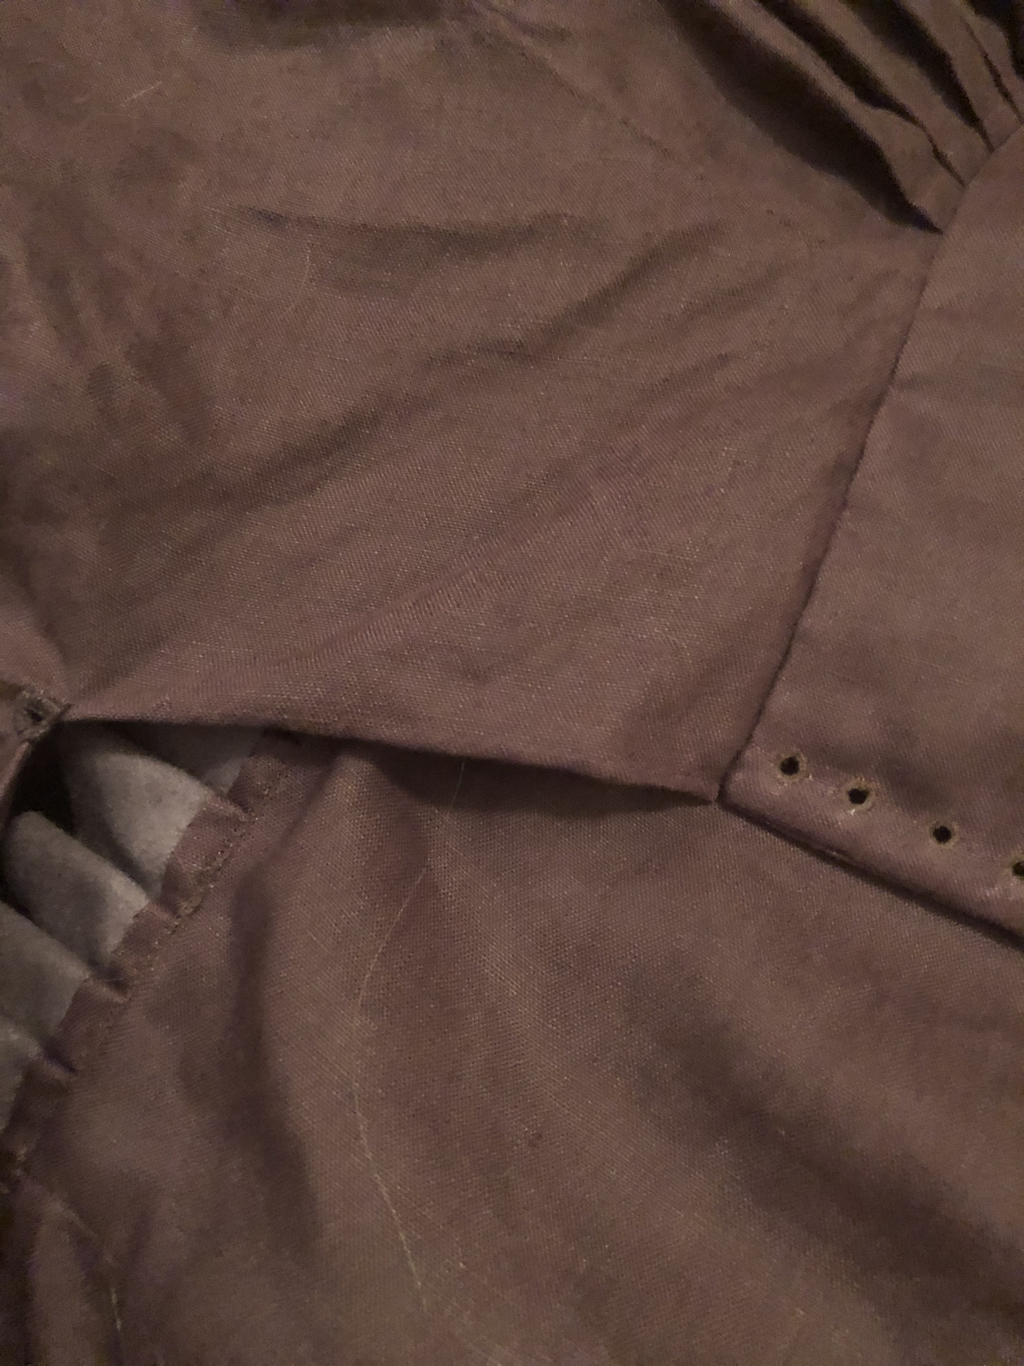
Your bodice is now sewn to your skirt!
Picture
Author: Nicola de Coventre (nee Nicola Boyd). Images and text copyright March 2020.
0 Comments


Leave a Reply.

    Dr. Nicola Boyd

    I have been creating historical clothing for over twenty years, but in the last decade, since I joined the SCA, that I have gained confidence in my research and practice. 

    Most of these articles are written as Lady Nicola de Coventre for my re-enactment group Society for Creative Anachronism (SCA).

    Archives

    April 2020

    Categories

    All

Powered by Create your own unique website with customizable templates.